Double the dimensions with 2×
A 1200 × 800 px photo becomes 2400 × 1600 px. This is a useful step up when the original is slightly too small for a presentation or a web image that needs extra crop room.
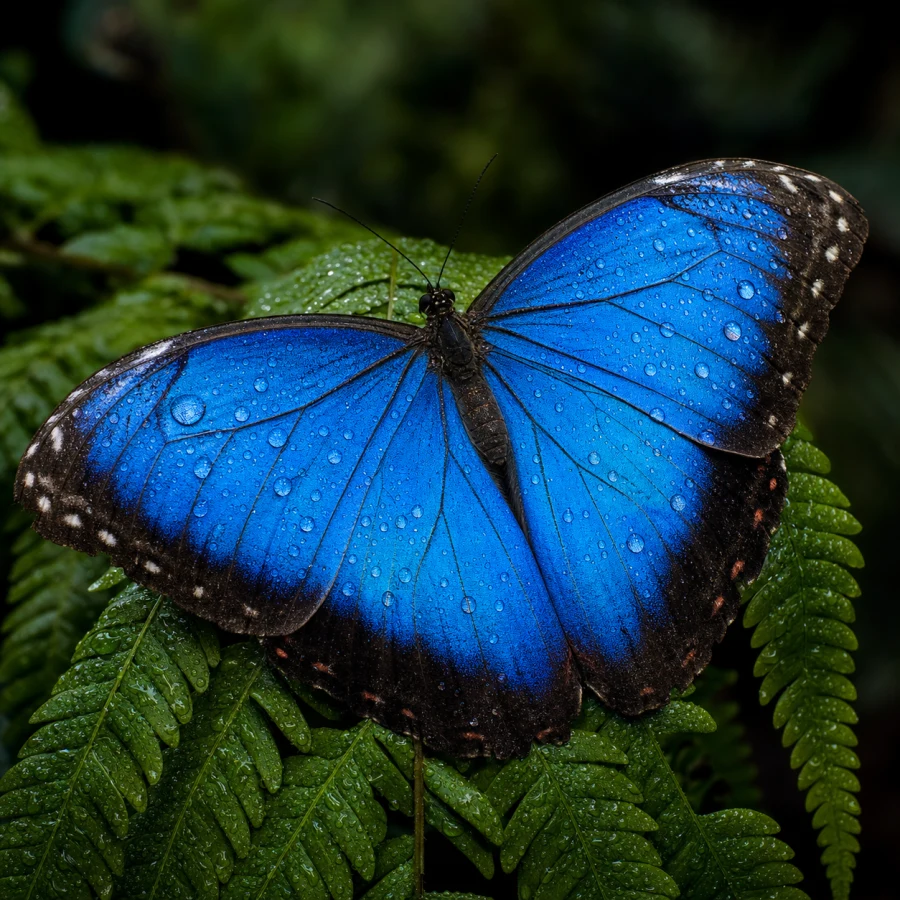
Use the Pixlr AI image upscaler to increase the pixel dimensions of photos, artwork, and generated images. Upload a picture and choose 2× or 4× enlargement for a larger layout, a closer crop, or a print project.
Work backward from where the picture will appear. The multiplier increases both width and height without changing the image’s proportions.
A 1200 × 800 px photo becomes 2400 × 1600 px. This is a useful step up when the original is slightly too small for a presentation or a web image that needs extra crop room.
That same photo becomes 4800 × 3200 px. Choose 4× when the destination needs substantially more pixels, rather than assuming the largest option always looks best.
No editing prompt is required. Pixlr uses your uploaded image as the source for enlargement.
Use the original PNG, JPG, or WebP file where possible, up to 10 MB. A screenshot or repeatedly compressed copy may have lost detail before it reaches the upscaler.
Check the expected dimensions shown by the tool, choose 2× or 4×, and generate the enlarged version. The longest output edge can be up to 20,000 pixels. Save the result when it fits your project.
Different images benefit from extra resolution in different ways. Judge the result at the size you plan to use.
Prepare a bigger product view or portrait for a page layout. Compare recognizable features, surface texture, and small markings with the source before choosing the final file.
Enlarge a chosen illustration for a poster concept, presentation, or design mockup. Check outlines and repeating patterns; added pixel dimensions are useful only when the image still reads clearly.
Choose the operation that addresses the problem in your source file.
Upscaling enlarges an image and uses AI to estimate detail. Ordinary resizing can reduce dimensions for a smaller placement. Neither a bigger file size nor a higher resolution label alone proves that an image looks better.
A wrong label, unwanted object, or unsuitable background calls for an edit. Make those changes first, then upscale the selected result. Enlargement is not a replacement for correcting the picture itself.
Understand scale, output resolution, and how to judge an enlarged image.
Yes. Try the image upscaler for free with a photo or illustration, choose an available scale, and compare the enlarged result with your source.
Choose the smallest multiplier that gives your design enough pixels. A 1200-pixel-wide source becomes 2400 pixels wide at 2× or 4800 pixels wide at 4×. If you only need 2000 pixels, 2× already covers that width.
The result follows your source dimensions and the chosen multiplier. A 1920 × 1080 px image becomes 3840 × 2160 px at 2×. Other source proportions produce different dimensions; the tool does not crop every image to a fixed 4K frame.
It can help some small or soft images look more defined at a larger size. It cannot reliably reconstruct information lost to severe motion blur or compression. Use the clearest source available and inspect important details before choosing the output.
Check the output dimensions against the printer’s required pixel density and print size. For example, a 2400 × 3000 px image supplies 300 pixels per inch at 8 × 10 inches. Inspect the result at the intended size; meeting the pixel requirement does not by itself guarantee clean detail.
AI enlargement can reinterpret fine lettering and edges. Compare spelling, logo shapes, and thin lines with the original at full size. If exact typography matters, use the original artwork or place editable text over the image in your design software.
Upload the picture you want to keep and choose a larger output size.
Upscale Image